
This Whole Grain High Protein Pizza Dough is one of our go to’s almost every week! It’s perfect for Pizza Fridays. About two years ago, I tried making a pizza dough with greek yogurt- it sometimes worked, but was inconsistent in how well it turned out. Sometimes I’d end up with a sticky mess when I tried to roll it out. Othertimes, it wouldn’t puff up and bake consistently in the oven.
Whole Grain High Protein Pizza Dough: Trial & Error
Through a LOT of trial and error, I’ve finally perfected the ratio of ingredients and my methods. The final product: an addition about 20g of protein to your pizza without any compromise of taste. I’ve served this to people who aren’t health conscious and didn’t know this had a secret ingredient. In fact, since I originally posted this recipe, I tried out a few other “traditional” doughs just to see how this would stack up. And I’ve gotten an overwhelming response that this dough is the best, health matters put aside.
- Greek yogurt and skyr: Be sure to use plain yogurt/skyr. Generally, I avoid completely non-fat yogurt and use 1% or a higher fat content because I think it results in a better texture. However, I’ve used 1% or 4% fat and didn’t notice a huge difference between the two. Normally I’ll just use what I happen to already have on hand.
- Water to yogurt ratio: This ratio is actually incredibly flexible, as long as you’re willing to observe the dough and go based on observations. I suggest trying the recipe as is for the first time and then playing with this. After doing this many times, I’ve lowered the amount of greek yogurt in the dough and have found that 1/2 cup (120g) is the perfect sweet spot for me. The dough is a bit lighter with less yogurt, although it doesn’t lower the amount of protein. It’s up to you. With 1/2 cup water, I add in about 6 ounces of water.
- Whole grain flour: Generally speaking, I do 50% all purpose flour and 50% whole grain flour. I’ve done this primarily with spelt and whole wheat because I think they have a fairly neutral flavor. They also both have gluten so that helps with a more traditional texture. You can also use 100% whole wheat pastry flour. I do not recommend using 100% whole wheat flour, because it results in a more dense dough.
How to Make this Dough: Video
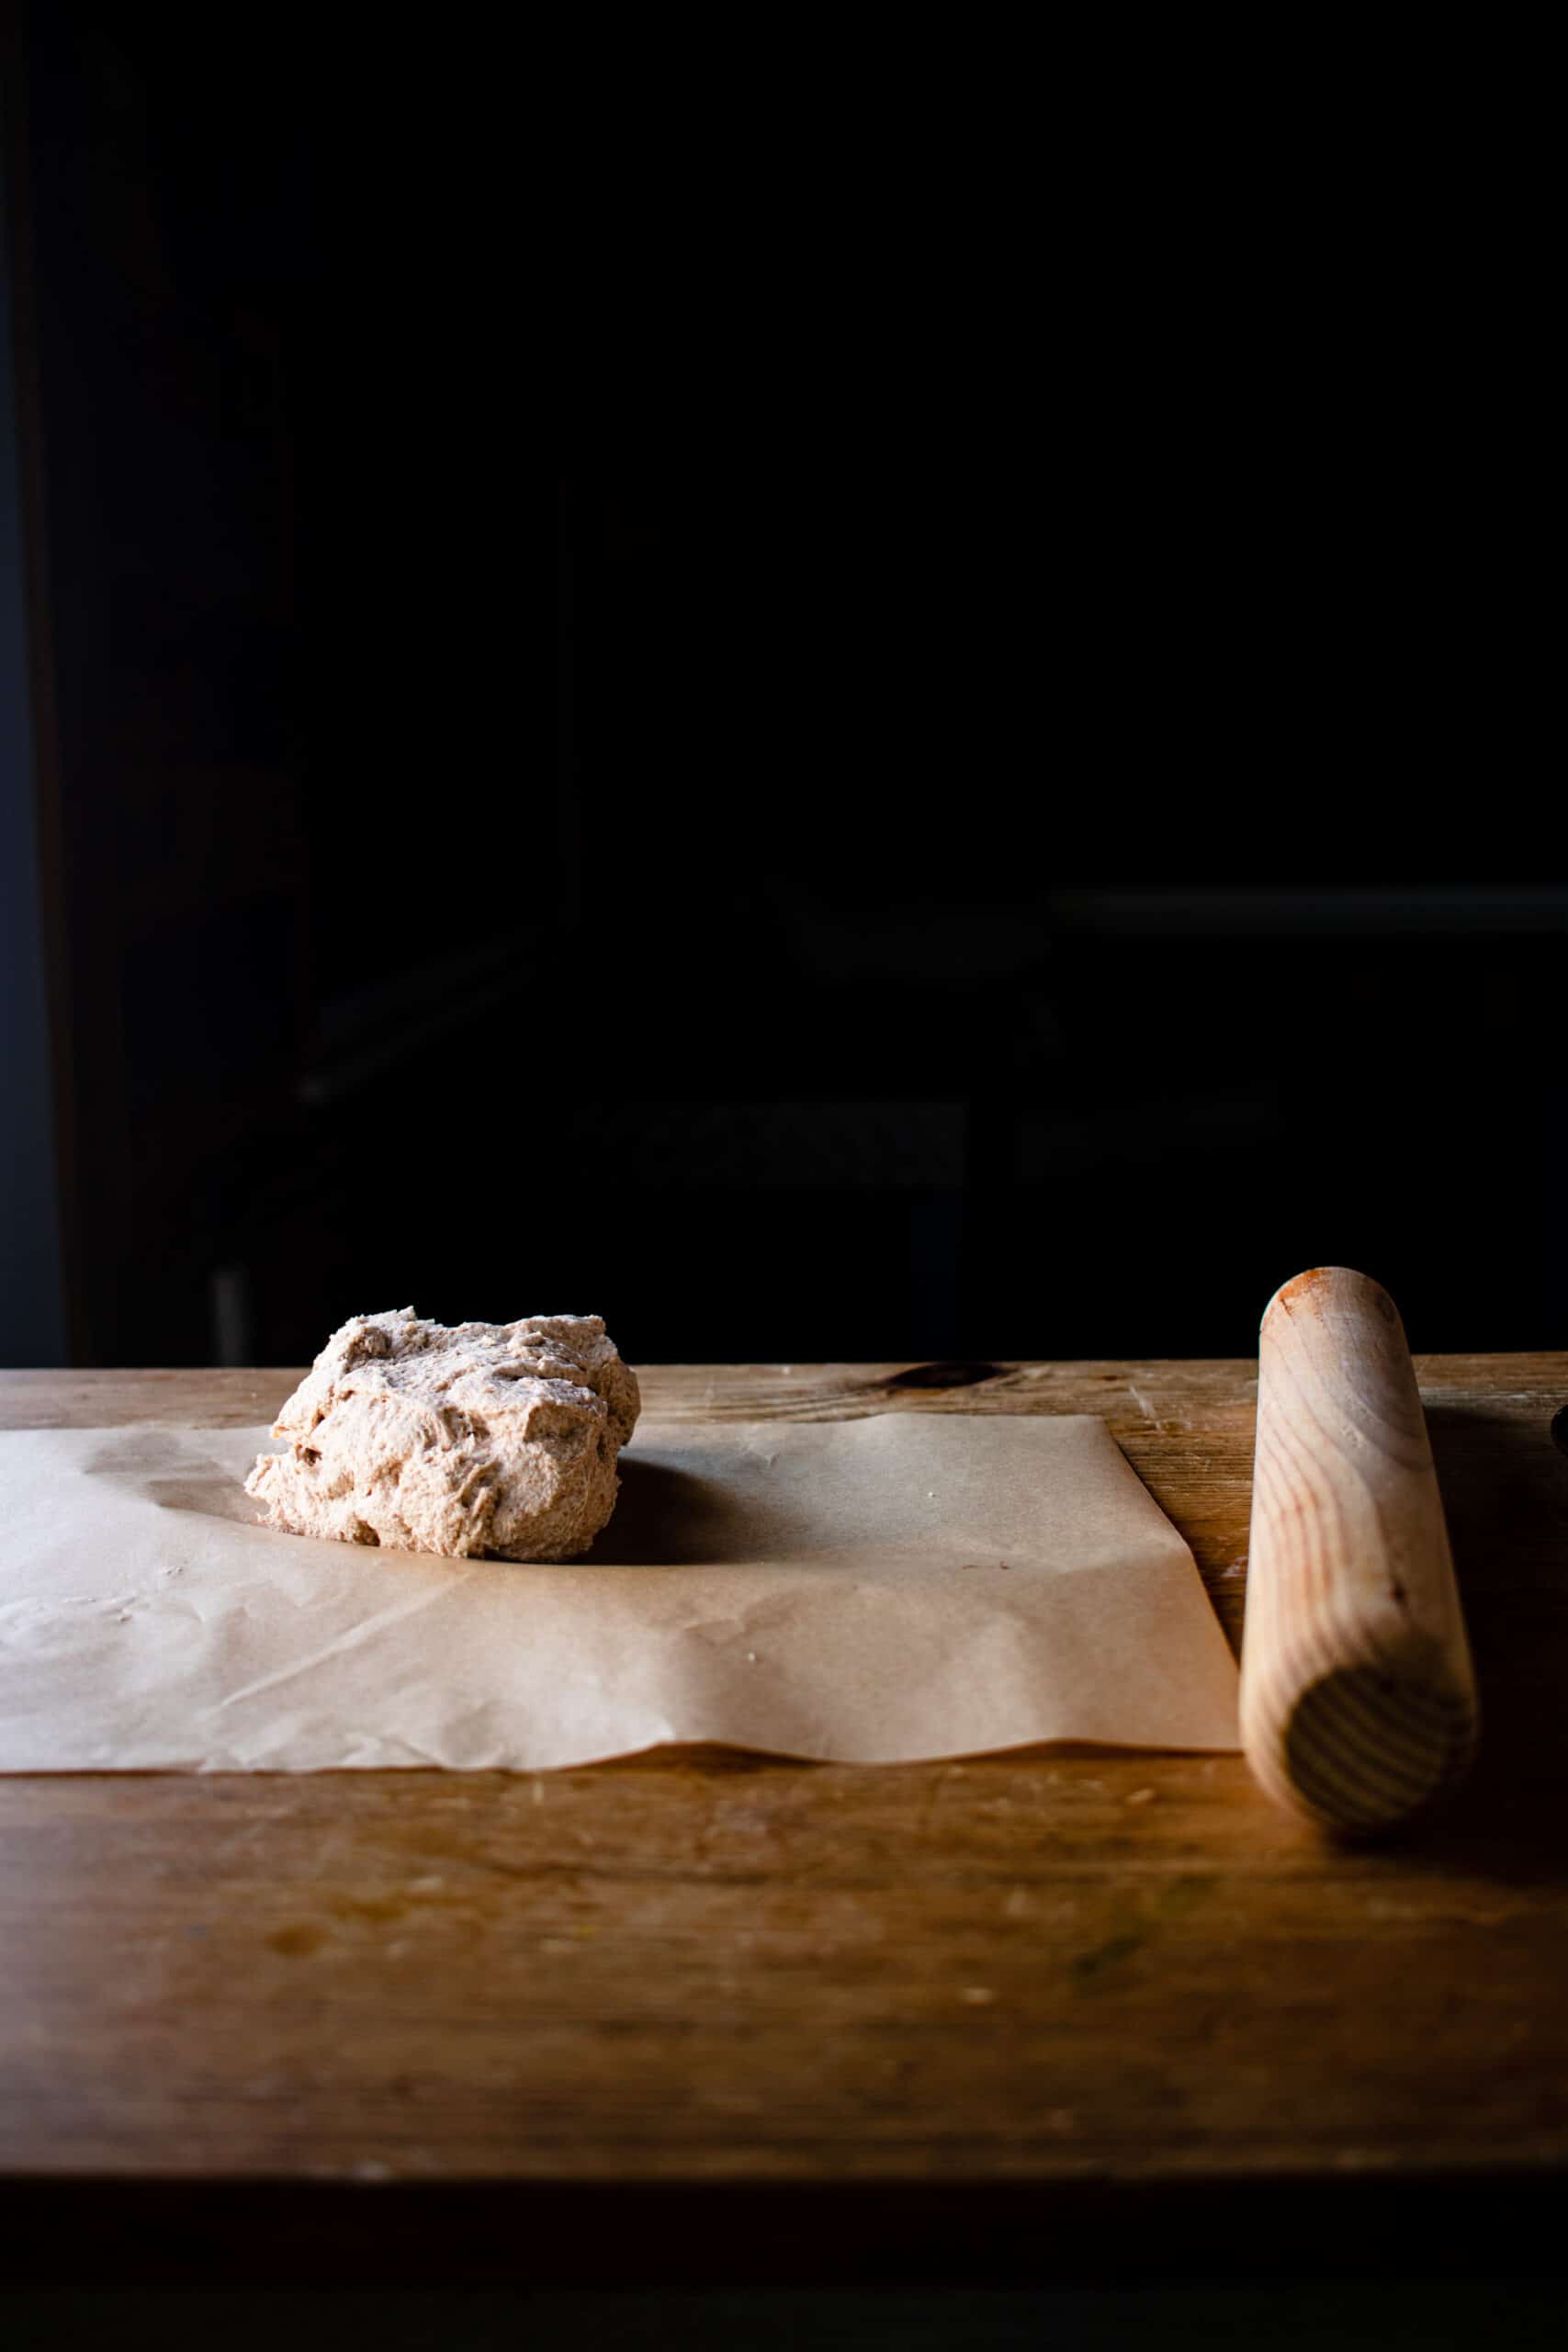
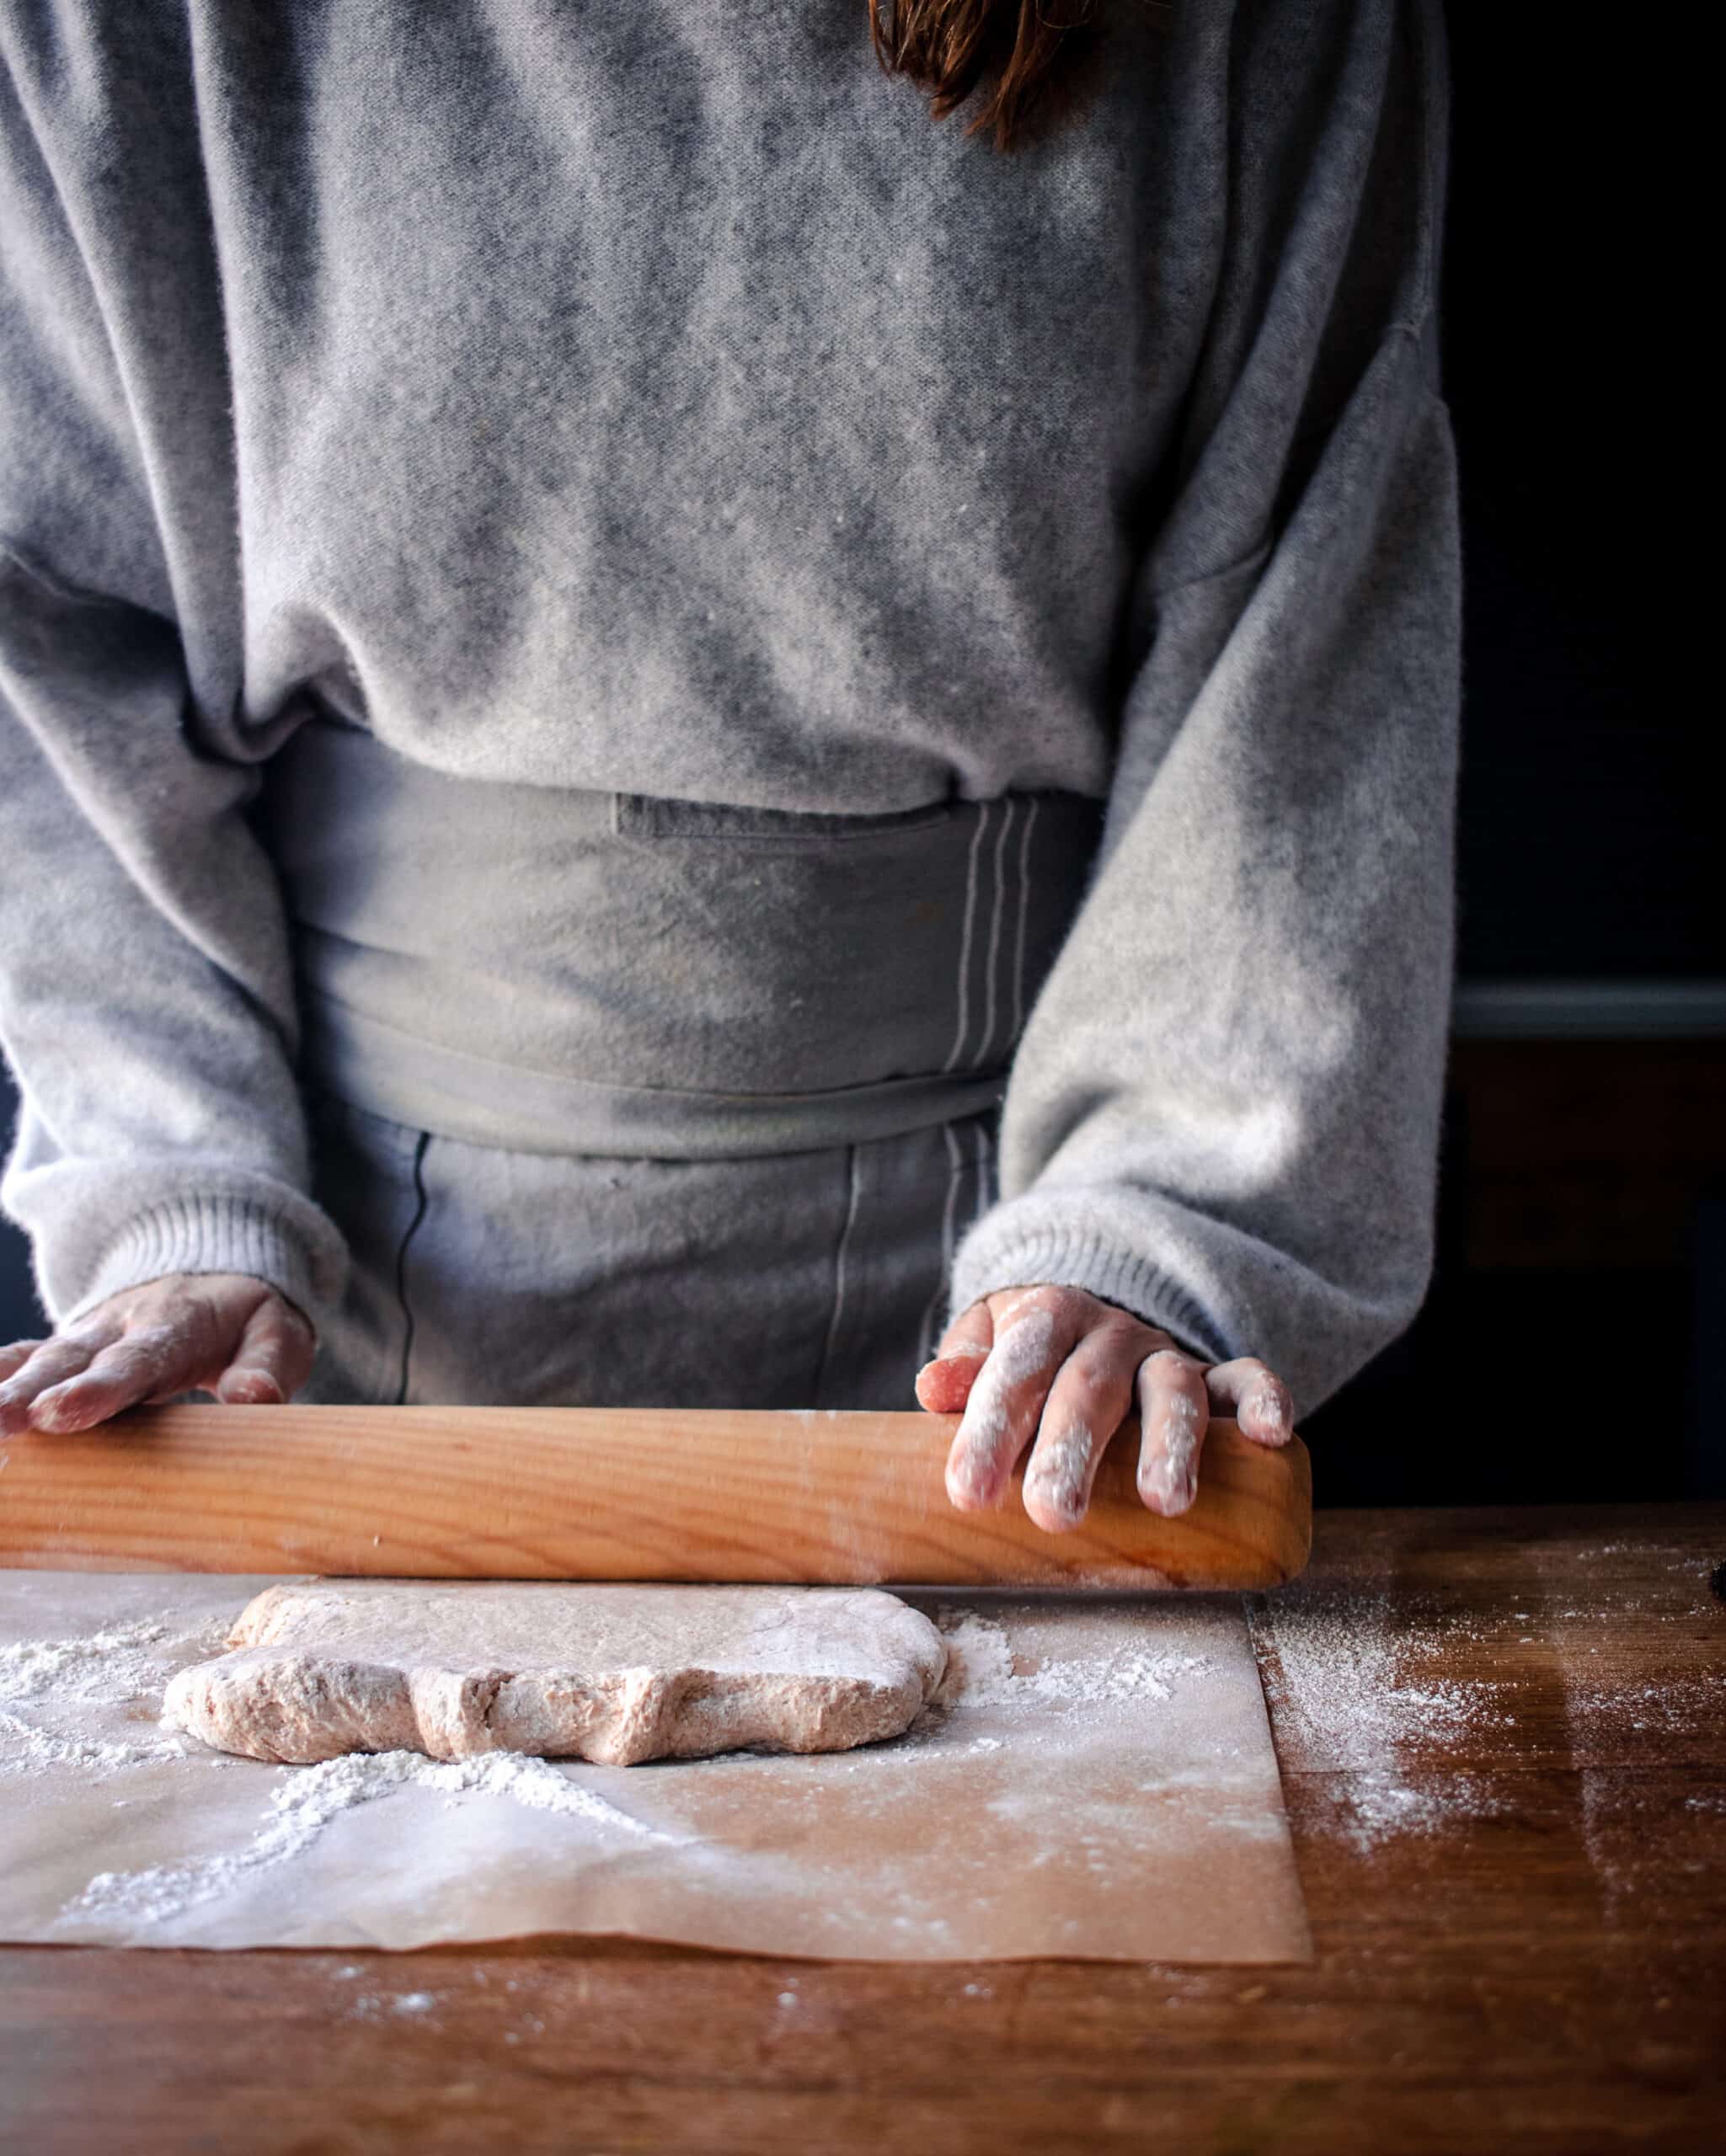
See below for a step-by-step on how to make this Whole Grain High Protein Pizza Dough- visuals are key to making sure you’re on the right track. Ingredients and instructions are written out below too.
3 Methods, 1 Whole Grain High Protein Pizza Dough
If I had my choice, I recommend using a standing mixer for this Whole Grain High Protein Pizza Dough. It’s just the easiest one and is normally what I do. However, you can also use a food processor and it will mimic the same results. After a year or so, I got requests and questions about if you could make it without equipment, so I tried it out for myself. Turns out, you totally can! It just requires a bit more time and observation. You may have to add in a bit more water or flour in very small increments as you knead it by hand.
You can see directions for all 3 methods below in the recipe box.


Restaurant-Quality Pizza: In Your Home
After making this Whole Grain High Protein Pizza Dough almost every week for over two years and moving into a new house, we decided to invest in a baking steel. I had done a lot of reading about how it helps create a better crust because it enables you to add a lot more heat and also mimic what you would get from a pizza hearth.
Happy to report that it was totally worth it. Every time we’ve gotten pizza that looks like we got it at a restaurant. The dough puffs up more evenly and strongly and the bottom is perfectly charred. This is the baking steel we got and I highly recommend it.
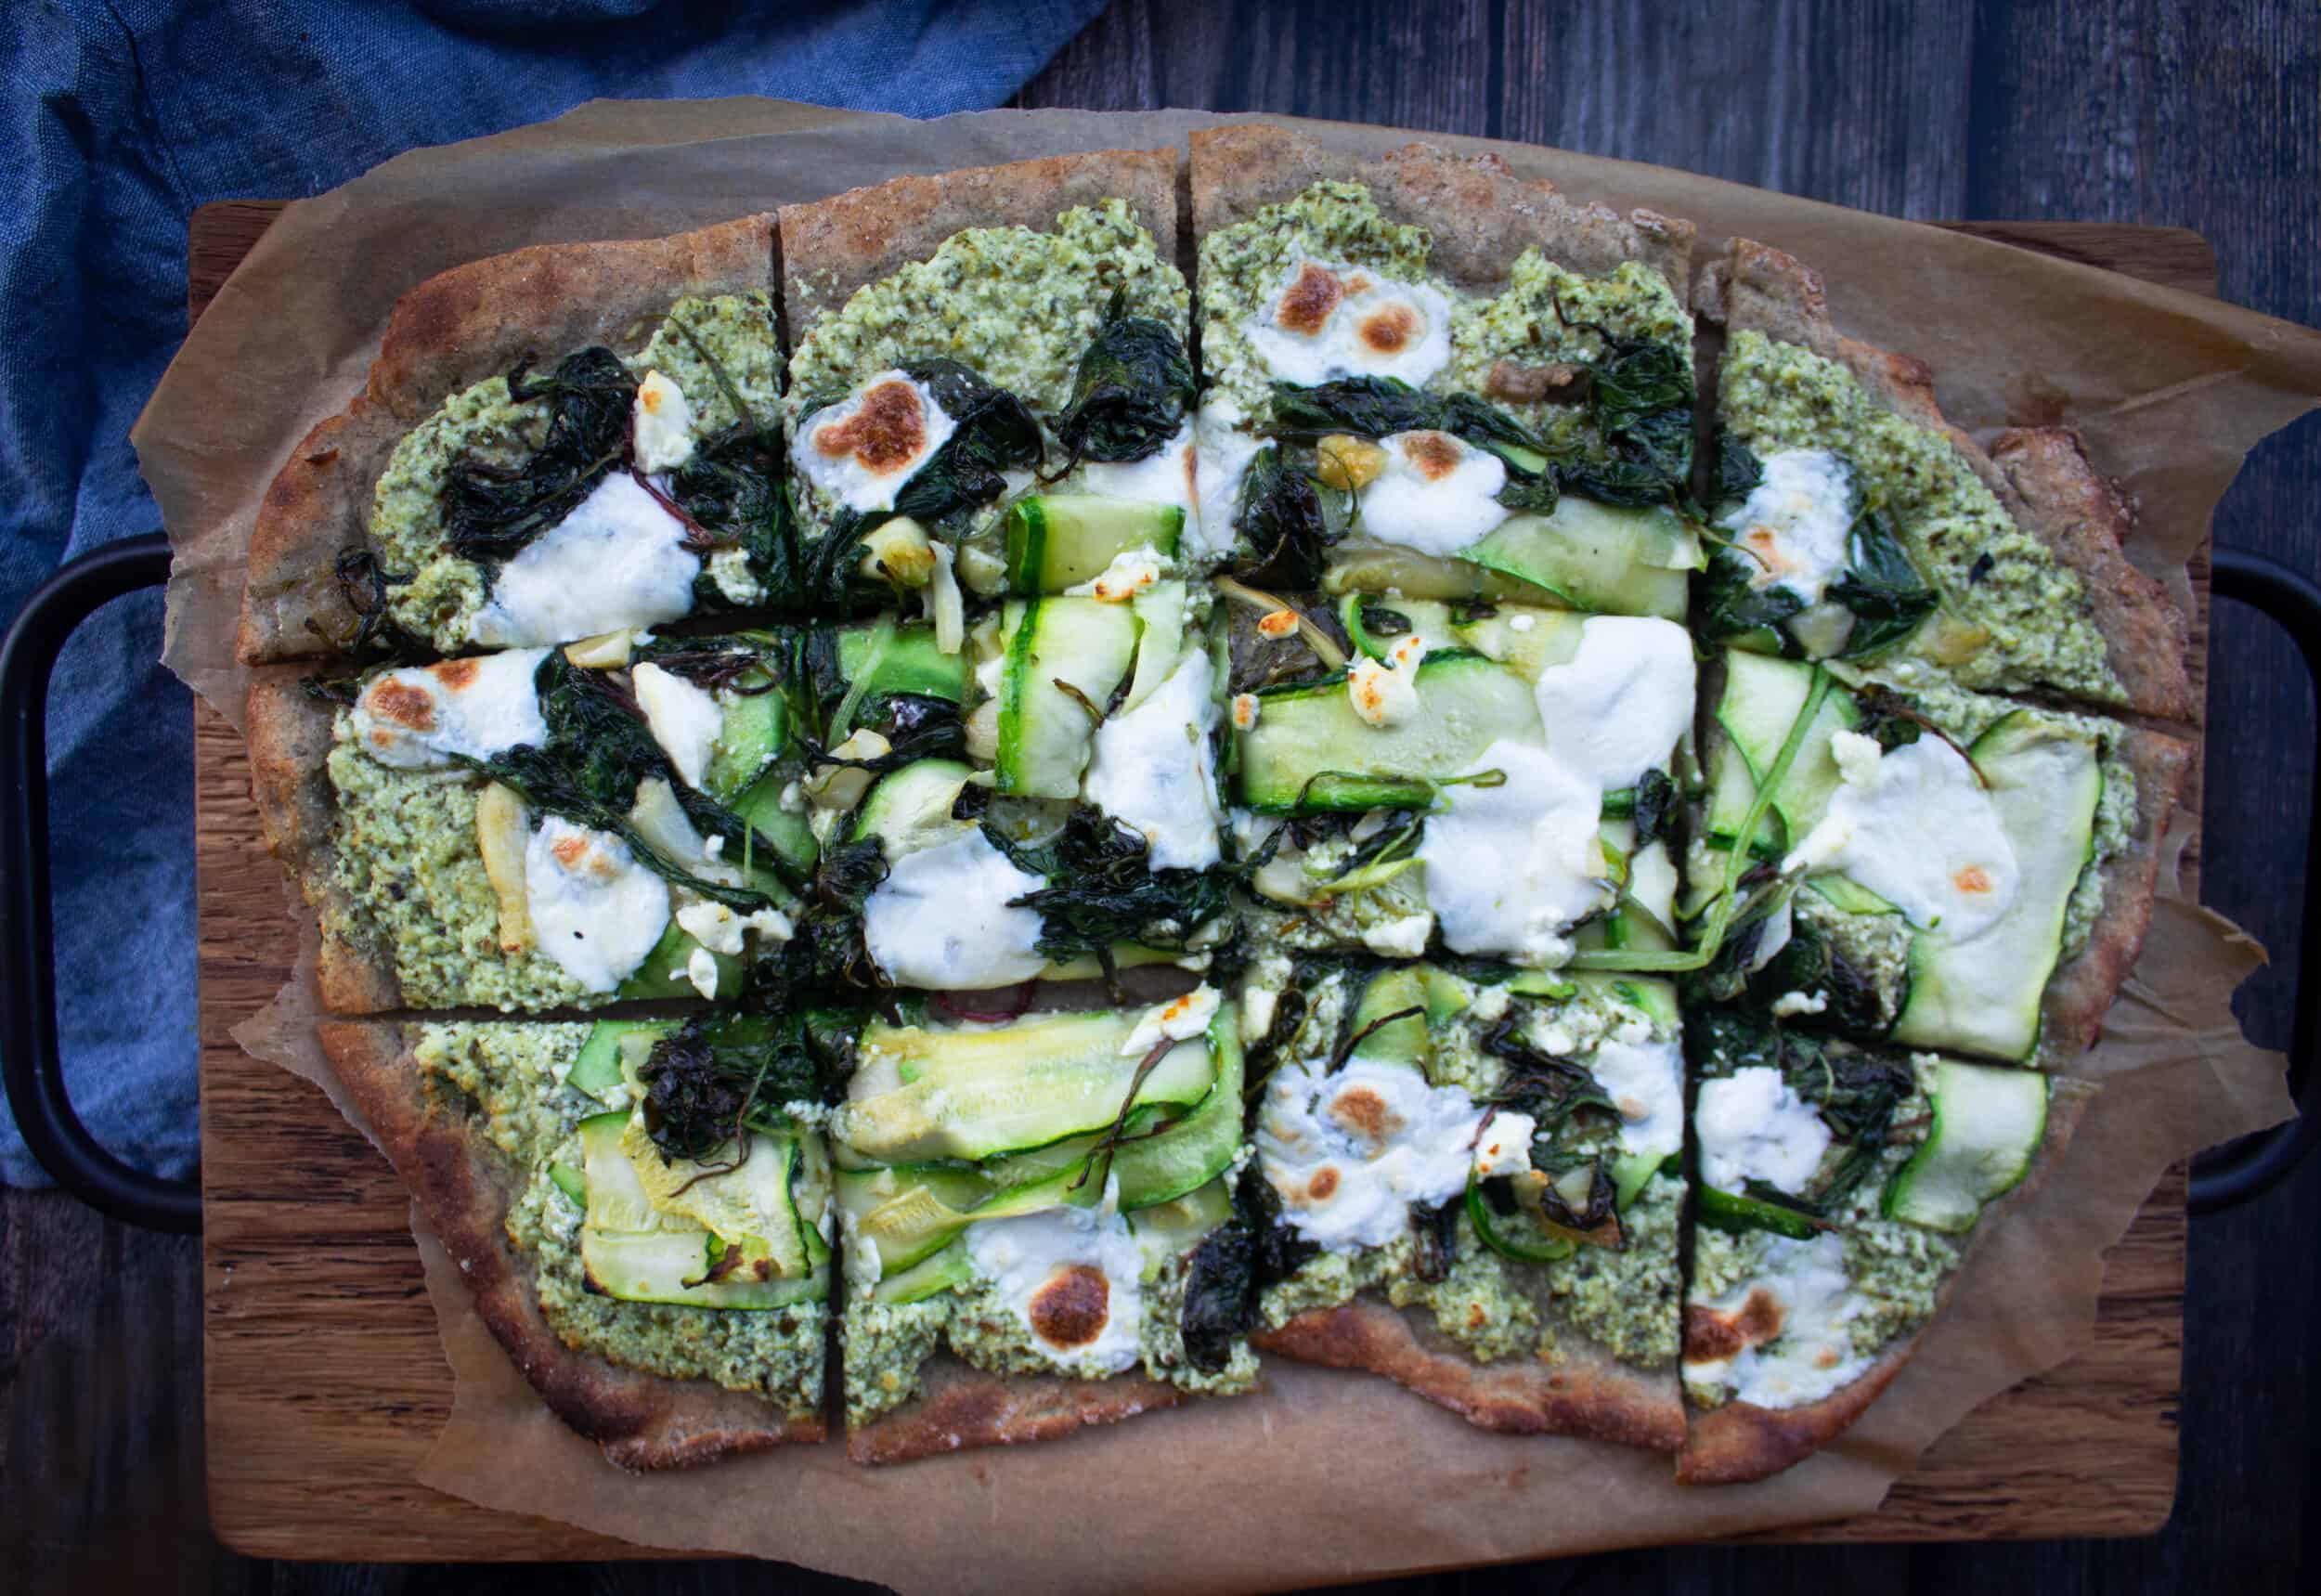
Pizza Inspiration
Now that you know all about this dough, get inspired with toppings and flavors!
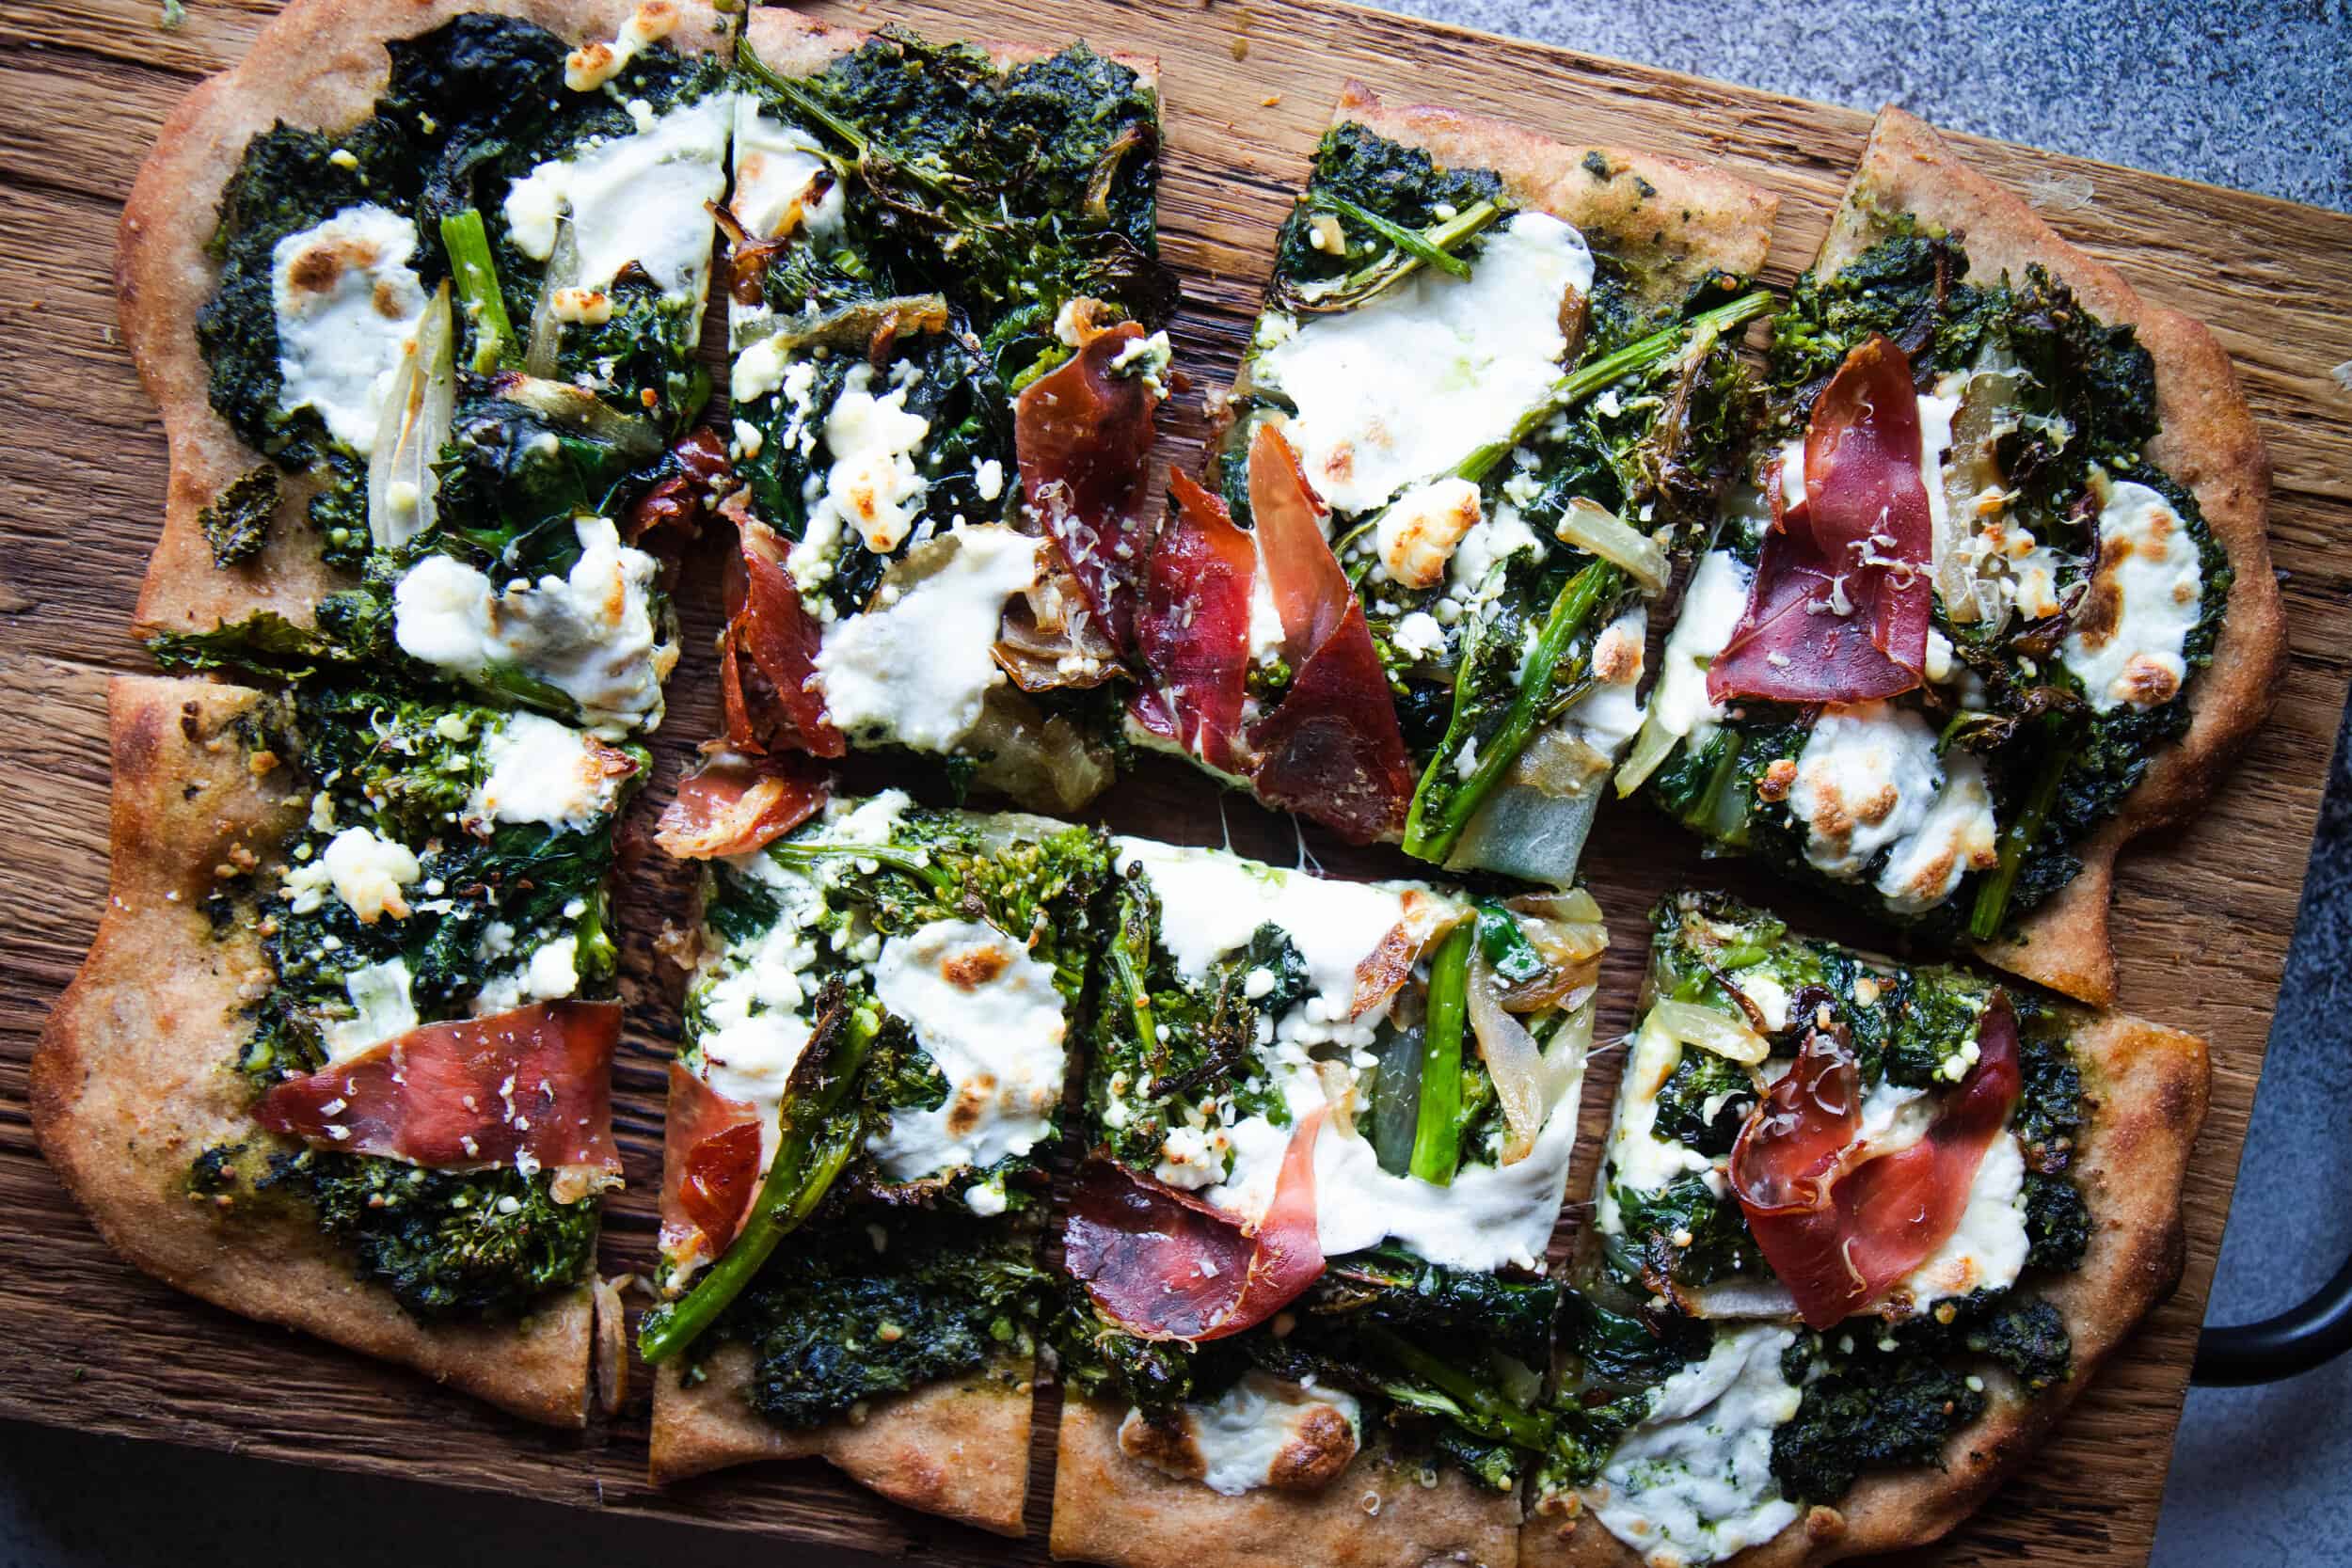
- Early Spring Kale Pesto, Prosciutto, & Mozzarella Pizza
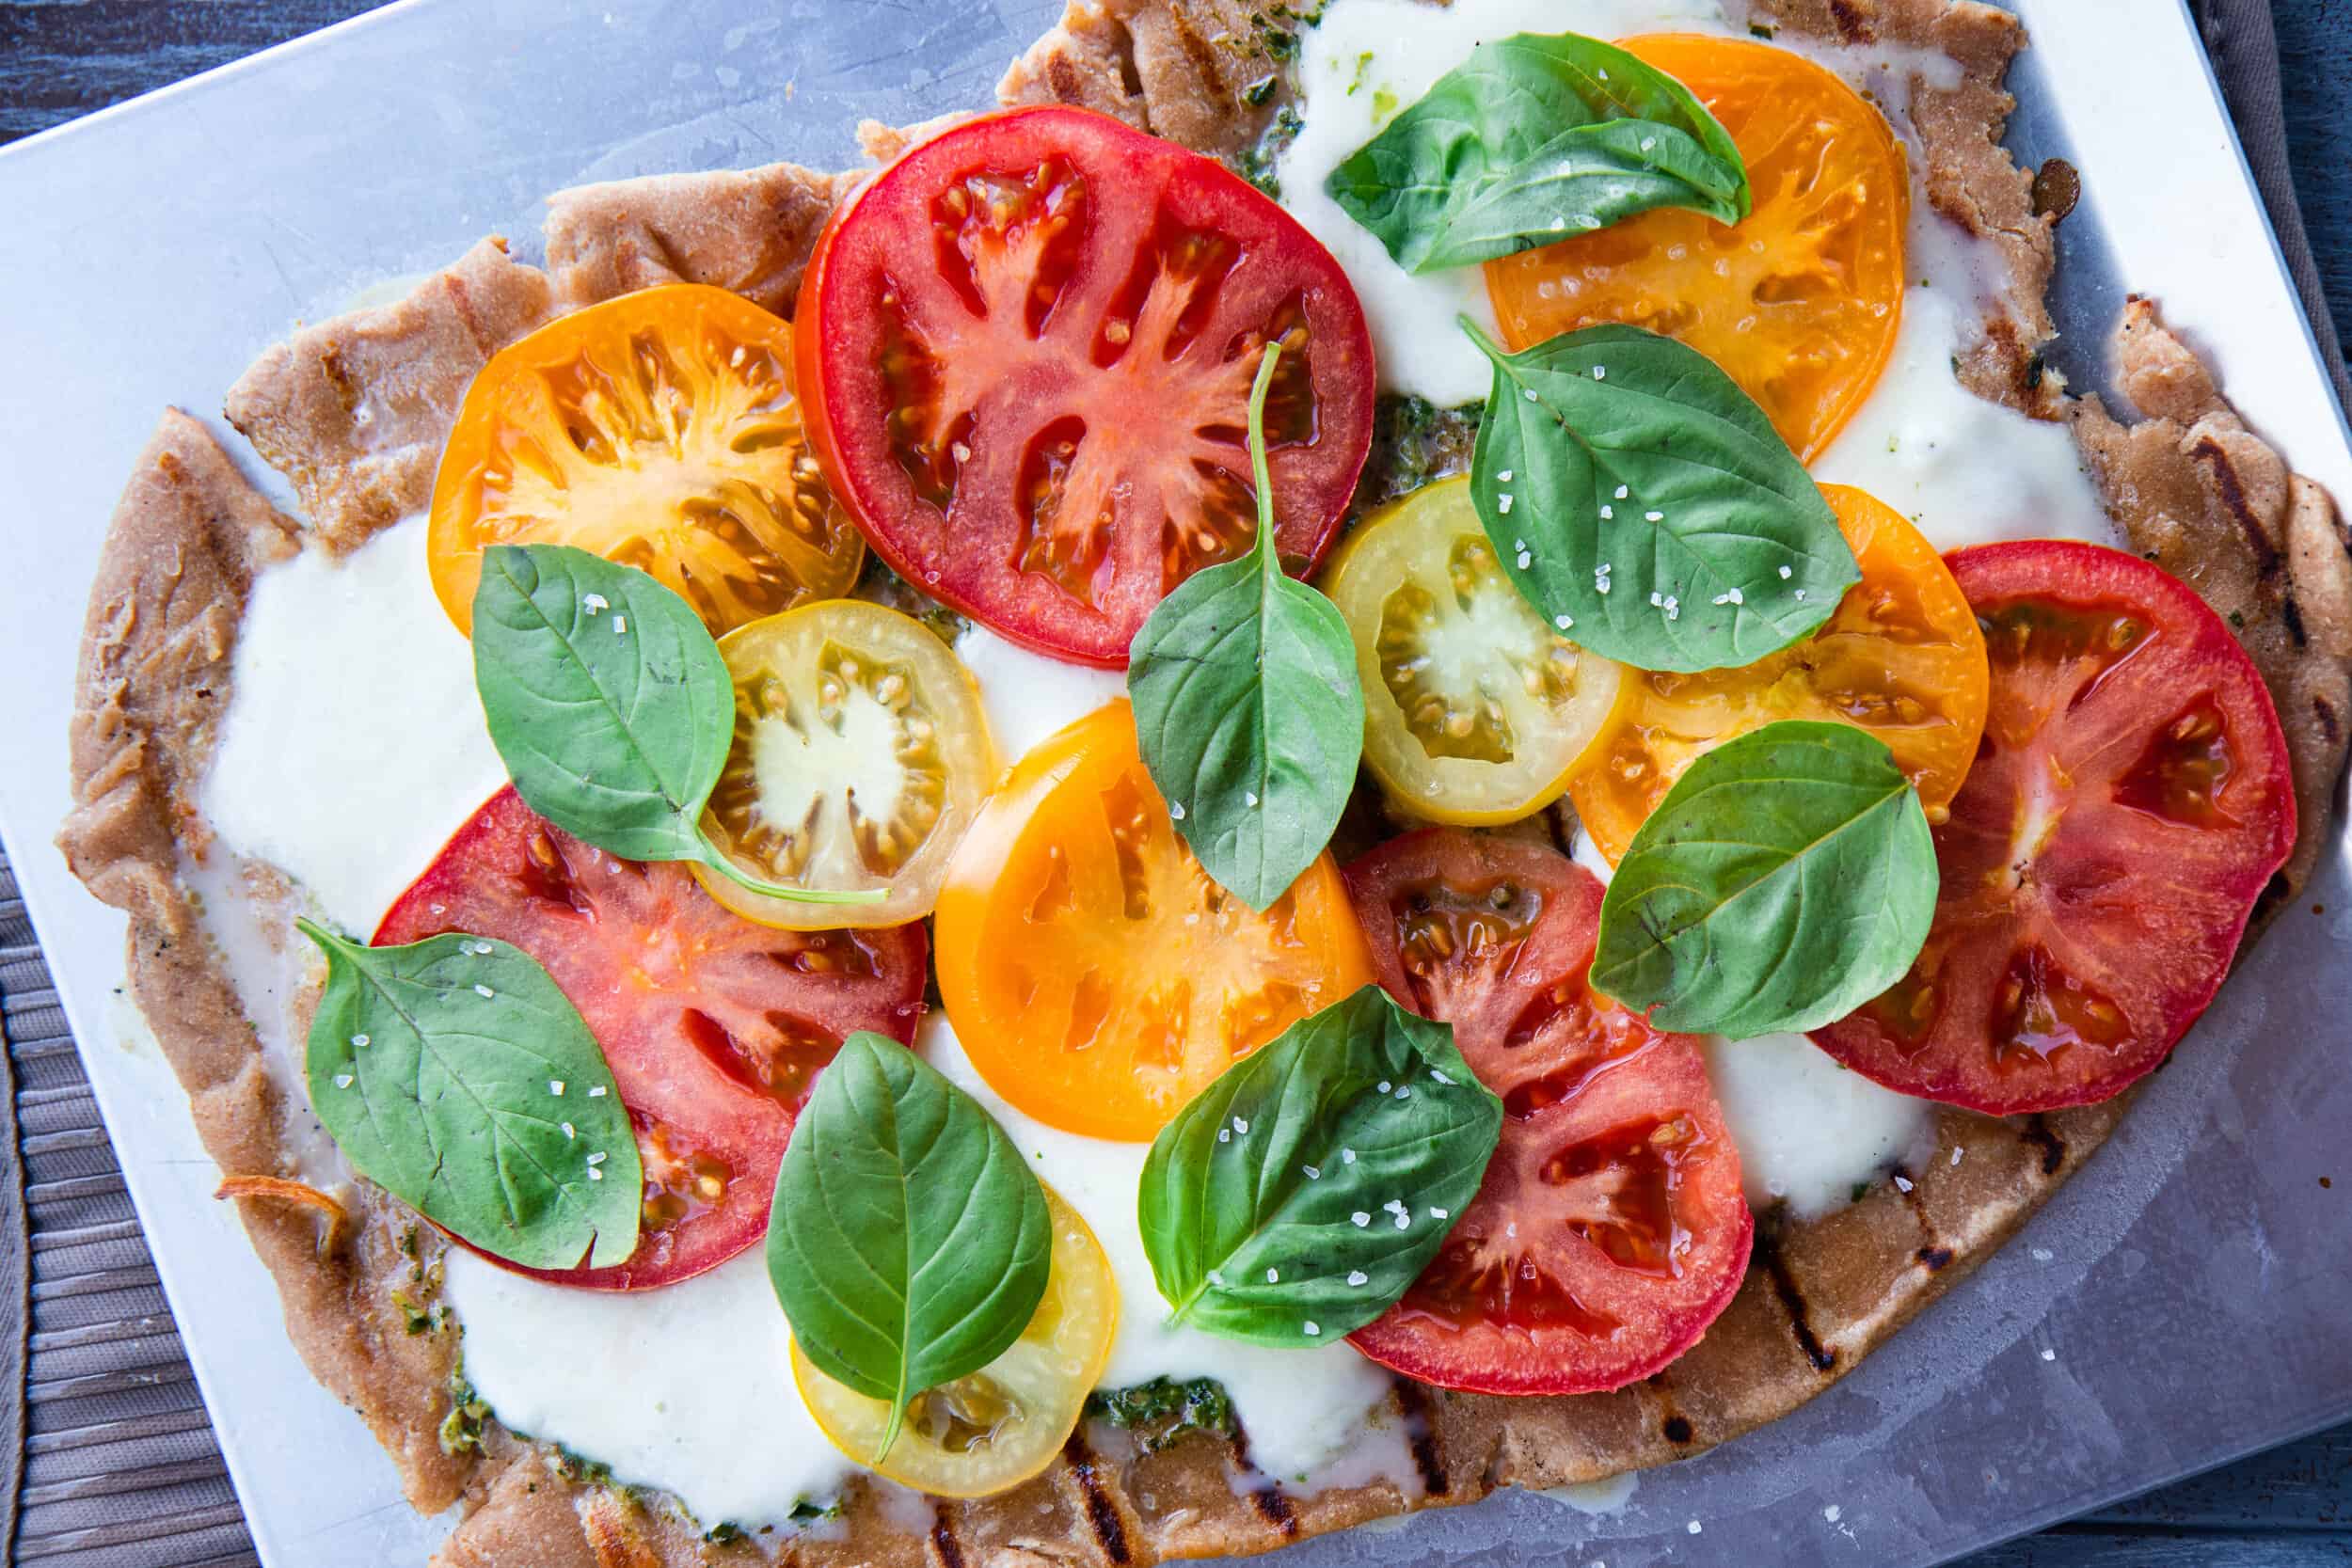
- Grilled Caprese Pizza – A summer grilled version with some classic flavors.
- Winter White Pizza with Squash
- Summer Pizza with Basil Pesto, Summer Squash, Tomatoes & Basil Microgreens
- A Healthier Khachapuri (Georgian Cheese Bread)
- Rye Flatbread with Slow Roasted Tomatoes, Creamcheese, Salmon, Microgreens & Everything Bagel Seasoning– not quite a pizza, but this recipe uses the dough!


Whole Grain High Protein Pizza Dough
- 1 1/4 cup (150g) all purpose flour
- 1 1/4 cup (150g) whole wheat flour, see above for other alternatives
- 2 teaspoons instant yeast, (in a pinch you can add 1/2 teaspoon baking powder but yeast is best!)
- 2 teaspoon diamond kosher salt (if using any other salt, use half the amount)
- 1/2 cup (120g) plain lowfat skyr or greek yogurt, (1% to 4% works) (you can also omit water and increase the amount of skyr/yogurt up to 1.25 cups (280g) OR you can do something in between like 3/4 cup skyr and 4 ounces water)
- 6 ounces water
Standing Mixer Method:
- Add flour, skyr/yogurt salt, water and yeast together in mixing bowl of standing mixer (or food processor).
- Using dough hook, mix on low speed (around 3 to start) until yogurt is well incorporated into flour, about a minute. Increase speed to medium (5) for another two to three minutes. Pause and check to see if dough is crumbly/dry. If you see a lot of excess dry flour crumbles at the bottom, drizzle in water, about 1/2 teaspoon at a time and then continue to mix with dough hook at medium speed. Repeat as needed until one big dough ball forms. There should be no dry flour left and the dough should be just slightly tacky, but not sticky.
- Remove dough from bowl and divide into two equally sized balls. If wanting to use this dough later, you can wrap in plastic wrap and place in fridge or freezer for later use.
Food Processor Method:
- Add flour, skyr/yogurt salt, water and yeast together into food processor.
- Begin to combine ingredients by pulsing initially, then process on high until the yogurt is integrated into the dough and the dough is in tiny little balls (like the size of dip’n dots!). When you pick it up, it should be smooth and should easily bind together. If you notice there is excess flour in the food processor, drizzle in water 1/2 teaspoon at a time and continue to process.
- Remove dough from bowl and divide into two equally sized balls. If wanting to use this dough later, you can wrap in plastic wrap and place in fridge or freezer for later use.
Hand Kneading Method:
- Add flour, skyr/yogurt salt, water and yeast together into a large bowl.
- Using a spatula or wooden spoon, coat as much of the flour over the yogurt and mix as best as you can- it will be a little messy initially. That’s okay.
- Once the yogurt is mostly covered in flour, you will still have a lot of excess flour on the sides and bottom of the bowl. Begin to lightly spoon over some of the excess flour over the dough and tap in with your finger tips. Repeat and be patient with it!
- Once most of the flour has been incorporated, remove dough from bowl and begin to knead. on a well floured countertap. Knead for five minutes, until the dough rises a bit when you gently push it with your fingertip. During this time, dust and add more flour if it is sticky. If you notice the dough is cracking or crumbling, dip your fingertips into a cup of water and lightly drip the water onto the crack and continue kneading. Repeat as needed. The consistency of your dough can be quite varied depending on the exact flour, yogurt, and even the humidity/time of year, so do your best to look and analyze your dough and decide if it’s too sticky or too dry and adjust accordingly.
- Remove dough from bowl and divide into two equally sized balls. If wanting to use this dough later, you can wrap in plastic wrap and place in fridge or freezer for later use.
- WHEN READY TO USE:
- Preheat oven to 500 degrees.
- Roll out into shape of your choice (a rectangle is easiest and works best with a sheet pan). I use palms to flatten out the dough a bit, and then use a rolling pin to get it thin. Watch my video for more help here.
- Add whatever toppings you want (sauce, veggies, cheese, etc.). Bake at 500 for 9-12 minutes, until golden brown on the bottom.
Notes
- Types/brands of yogurt vary in how thick they are, which is why there is a range. Start on the low end of the spectrum as add as needed.
- Certain flours absorb more moisture than others. I’ve found whole wheat absorbs more than others. Again, start on the dry end and add yogurt as needed.
- If you can, use a scale to measure in grams- it is more precise and easier.
This is our “Friday night pizza night” pizza now lol! This is really easy to make and really good! Thanks!!
ours too! it’s the best!